Showing posts with label DIY. Show all posts

4.02.2012

DIY {sorta} freezer/fridge organizer

So this DIY is not really that cute, but it was NEEDED at our house!


I HATE wasting food. It makes me sick throwing away food that went bad because of neglect or half used freezer burned bags of smoothie fruit.

So I devised a system to let us know what we have in the freezer and (immediately perishables) fridge so we would waste less and not buy things we already have only to find it shoved to the back of the freezer trapped beneath the 10 lb bag of ice!

Here is the freezer before. Yikes.


 Here is the freezer door before. Double yikes!


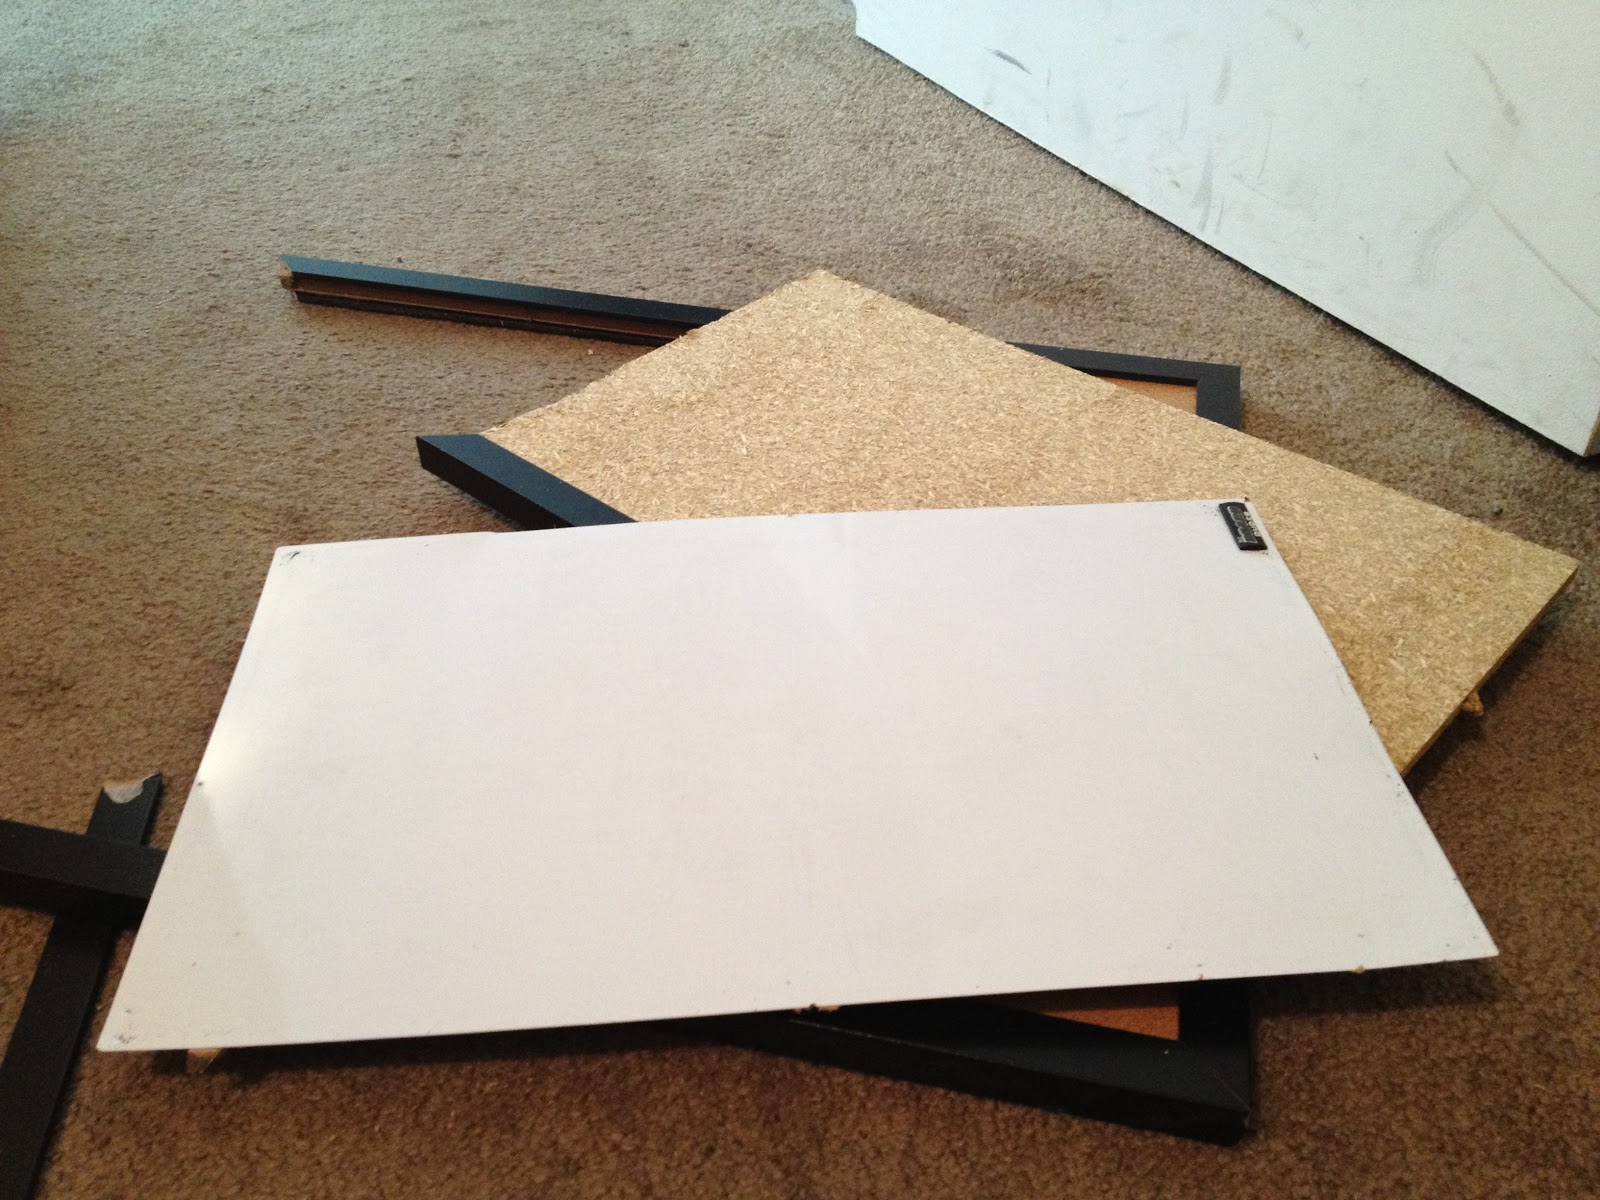
I had this old cork/white board mixed in with my craft supplies and I know since I bought it at Target it would be too hard to take it apart and repurpose it. 


I was right. (disregard dirty door...)


I love my new organizer! It will help us waste less and know what we have when planning meals!

1.22.2012

Erasable Menu DIY

So I have begun to share my weekly menus with you all...
1. to keep myself accountable to do it and
2. to inspire you all to do the same!


It really does save so much work and stress!!
And if you have kids, let them pick a meal one night and write it in..it will be fun for them to be involved and have them help cook too or take a load off and them cook it all (if they are old enough).

So here is my version of the erasable weekly menu, inspired by the lovely Pinterest.

Supplies
1. A large frame, with glass
2. Scissors
3. Tape
4. Markers or pens
5. A large white poster board (not pictured)
6. fun stencils!

I tried tons of different things like putting mismatched craft paper, or cut up Trader Joe bags behind my glass in the frame, and just didn't end up liking any of it. So I went to Target and bought one of those like science fair poster board and cut it to the right size. A nice clean, white slate.

I measure the white poster board to the same length and width as the back panel of the frame, cut it out and taped it to the back. I then added some food themed stencils to my white paper 

Then out of craft paper I made day of the week circles, and taped them onto the white poster board (now attached to the inside panel of the frame)

I wrote 'MENU' in large letters on the white poster board, and then assembled the frame and secured the glass on top.

Crappy close-up. : )


I bought a dry erase pen from Target and can now write the menu next to the day of the week circles, and can record on top the week I am cooking for...then erase it all at the end of the week and start over!

It's super easy, and it has made my hectic school filled life soo much better! : )


1.14.2012

DIY Shelf from a pallet

I have 5 pallets sitting in my backyard. Five.
I keep telling Greg my grand plans about using them to make shelves, and outdoor seating, and beds.

And I think he is beginning to lose hope that I will ever do anything with them, and I am afraid he won't bring them home anymore when he finds them on the side of the road.

So this lack of faith and fear of no more stray pallets coming home to me prompted me to get my booty in gear and actually accomplish one of my pallet goals!

Library book return shelf! : ) Never pay a late fee again...

I sawed straight across the pallet until I had a sort of shelf, and then I cut it down to the size I wanted it. Use power tools if you have them. Mine were super ghetto and now my muscles are sore.

My crude looking shelf...not done yet!
I thought I had taken a picture of it, but I guess I didn't...I also sawed off a straight, thin piece of the pallet to nail to the bottom of my shelf to hold everything in!

Greg and I have been using the library more often so I thought I would make a little library book return shelf, so we don't lose anything and we remember to take them back!

I didn't put the paint on super thick, I wanted to more rustic, worn look.

Right under "don't forget!" I added a small chalkboard sticker so we can write when the books are due back! Now I just need to buy some chalk...

Now I am just waiting for my handyhusband to hang it up! It is a bit heavy so I think I need him to bust out the stud finder! 

It's a bit ghetto and wonky...but I love it! And I showed my darling husband that he can still bring home any and all pallets he finds...ok dear?!

12.22.2011

DIY vintage inspired painted tray

I am so excited to share this DIY with you!


 It was super-duper fun to make and I am giving it as a Christmas present.

Supplies
1. Wooden candle or breakfast tray

2. stencils

3. paint + paintbrush


This is how the tray started out...so cheesy! Haha I got it for $3 in the bargain bin at our local Christian bookstore

Give it a nice base coat. I used white + a couple dots of "cocoa"

Don't do this unless you want paint in your coffee..whoops.

Wait until the paint dries completely!! I know I get impatient too, but watch something on netflix while it dries...it helps. Or start another project in the meantime...I mean I don't do that Greg...you know I only do one project at once and ALWAYS clean up after myself. *wink*

{I used the Martha Stewart Stencils again - find them here}

My finished stencil. Vintage inspired flowers.

I like the yellow dots I added. No I didn't free hand them...I free hand nothing, they were also a stencil
*shame*

I want to keep it. I love it. But alas one lucky lady in my life will be receiving it for Christmas.

I am not in a very giving spirit today. I went to the GAP and bought some stuff (thank daddio!) and the cashier asked me "will you be needing a gift receipt today?"
Sheepishly I answer..."oh, yeah no...these are for me"

Only TWO more days til Christmas...I can hardly contain my excitment!!


12.21.2011

Homemade Frozen Burritos

So I try to make Greg's lunch whenever he needs it (his work provides it 2 days a week)
but with my crazy school hours (waking up at 5am a-thank you) and struggling to make "unique" and "healthy" lunches everyday I have to get creative some times!

So today I made some burritos to freeze that Greg can just toss in the microwave at work
And at around 200 calories each they are way better for you then the frozen ones from the store, which can be almost 500 calories for one tiny burrito!


Ingredients
1. Medium to large Tortillas

2. Fat-Free "traditional" beans

3. 1/2 cup shredded Jack
1/2 cup shredded cheddar

4. Hot sauce or salsa

5. 1/4 cup chopped onion


Since beans are generally pretty bland I added some generous shakes of old Cholula (mi favrito hot sauce!) and a 1/4 cup chopped onions


Spoon beans and cheese into the tortilla, leaving a lot of tortilla around the edges for a good, compact burrito fold.


Wrap that baby up! I am not gonna lie I wrap a burrito better than a 17 year-old Taco Bell employee...let me show you...

A.
fold two sides in over the beans and cheese

B.
now fold one of the un-folded sides over the beans and tuck in to the fold you make previous

C.
Now roll it up and flip it over so it doesn't come apart!

Whew...that was hard...like rocket science...wait, what?
aren't you glad I had a tutorial? ; )

Now individually wrap each burrito in saran wrap and place them all into a freezer sized storagebag

Don't forget to label and date them!

I am not sure how long they will last in the freezer...but I assure you I will never find out, my hubby will be eating all of these in the next week and a half I am sure!

Enjoy those yummy little burritos...so easy!

12.19.2011

Smith & Daphne guest post - and a cliff hanger...

We have the lovely Kristen here from {Smith & Daphne} giving us a tree topper (That will blow your mind!) tutorial.

She is a "for real" friend too, and she is amazingly talented, she always wear these beautiful handmade dresses to church, and I have to remind myself I am at church and to not covet them. 

Here's the catch...the final step is on her blog so be sure to check that out at the end!

{---------------------------------------------------------------------------------------------}


Although my husband and I have been married for 6 years, last year was the first year we had a tree since we were always out of state for Christmas. I pulled together a few ornaments and lights, but there was no tree topper... This year? I made one.

I started folding paper and ended up making several round layers, each created differently. This isn't difficult to make, but it can be a little time-consuming. You can make this much simpler by just choosing one folded circle, or mixing them differently... it's easy to customize. My tree topper has 3 main layers, but technically there are about 9 in there if you count everything - so feel free to leave any of those out! I'll explain the first two now. This is my final product:

{ok, Savannah here: Isn't it great?!}

Well start from the inside and work out...

The first layer is made with an accordion fold, back and forth like you're making a fan. The difference is that you make every other fold on a diagonal. This turns it into a flattened out circle and lets the back peek through a little bit at the top. 

Cut out two 4" strips of paper. Start with one and on the back, I marked every half-inch along the top and every 1-1/2 inches along the bottom.


Now, with the half-inch marks on the left, fold the top at the first mark. It should fold towards the front. Now you're going to match up the next 1/2 inch mark with the first 1-1/2 inch mark on the right. It will be diagonal and fold towards the back. It was easier for me to fold it towards the front so I could see the marks and then fold it backwards along that crease, but I also used a thin piece of cardboard to fold the paper over by lining it up with the marks. Keep folding it until you get to the end. Then, smooth it all out and cut the paper in half so you have two 2-inch wide strips.


After you cut in half refold each strip


I needed at least 4 thin strips to make a full circle - you'll have to play around a bit with lining each one up to make them look continuous, cutting off the ends as needed. I taped them all together on the back; you may want to use some tape (double-sided if you have it) in between the folds - you'll see where it might need to be held together. The center may not look pretty, but that's why I have a glittery circle on top. 

The next layer was just a very basic accordion fold in green paper. I used 3-inch strips of paper for this, and taped the ends together until I had enough to make a circle. Then I glued it to a circle of thin cardboard - use something like a cereal box. The paper wanted to un-fold itself and flatten out, so I used paperclips to hold it together here and there toward the center; otherwise, it can be really hard to make it stay circular. I used a glue gun for all of this, but if you're really particular you may want to use regular white glue. My green circle isn't quite even, and the glue dried so quickly I couldn't really change that. It doesn't bother me, but it's something to consider.

{-----------------------------------------------------------------------------------------}

Ok...Kristen has left us on a cliff hanger.....

To see the rest of the DIY Tree Topper...go


11.17.2011

Homemade Granola

I am trying to shy away from processed foods as much as possible. It is not so much a calories thing, or a refusal to eat junk food thing, it is just not knowing what I am putting in my body and what the TRUE ingredients are.

I am not above chips, crackers, easy grab-and-go snacks by any means, but I want as much as possible to make from scratch any foods that I can and have time for.

Today I whipped up a batch of granola, and let me tell you it was super easy and worth it!
So yummy!


Maybe the granola at the store has truck loads of sugar and salt, I don't really know, but I know for a fact mine doesn't, and that is comforting in a way! To know exactly what I am eating is freeing.

Granola is one of those things you can dress up any way you like, but mine is simple and to the point.

Ingredients
4 cups rolled old fashion oats
2 cups sliced almonds
3/4 cup vegetable oil
1/2 cup honey
optional: dried fruit or raisins

Prep: 5-10 mins
Bake: 45 mins

Add coconut, dried fruit, cashews, raisins, etc if you want!

Pre-heat oven to 350 degrees

Measure oats and dump in a large bowl


Chop and measure almonds and toss them into the bowl with the oats


In a small bowl combine the oil and honey and whisk together


to make things easier, I dumped my oat and almond mixture into a gallow sized freezer bag and poured the honey and oil on top.
Seal the bag and shake and roll it until all the oats and almonds are coated.


Spread granola out onto a cookie sheet and place in the oven


set timer for 30 - 45 mins (depending on how hot your oven cooks) and bake until oats are golden brown. Stir or flip granola occasionally with a spatula.


Place granola in an airtight container or in a tupperware. One down side of non-processed foods is that they don't last super long, but I will take that over not knowing what I am putting in my body any day! It just means more time to try new recipes and constantly having different snacks in your home!


YUM!