12.13.2011

DIY Christmas Wreath

So I posted this last Christmas, but it is a great (and easy) DIY that really makes your door say

IT'S CHRISTMAS TIME!


So alas I am sharing it again and including a picture of the wreath I recycled made this year!

Supplies
  1. Styrofoam wreath from craft store {Buy them here}
  2. Yarn, twine, or ribbon
  3. hot glue gun + sticks (low temp glue so styrofoam doesn't melt)
  4. Festive flowers or other knick-knacks

Now hot glue the end of the string to the styrofoam and wrap, wrap, wrap it around until it looks like this...


Ok no in horror realize you are only 1/4 done and wrap, wrap, wrap some more!


Do not be discouraged it will eventually look like this. : )


Now hot glue all the flowers and knick knacks to the wreath and find somewhere to hang it!
I made some christmas gift tags so I decided to add that to my wreath as well!


Here is my finished product! Merry Christmas y'all!

There are tons of these tutorials all over the web...here are some of my favorite

{Pom-Pom Wreath by Bleubird}

{Twin & Yarn Wreath by Two Junk Chix}
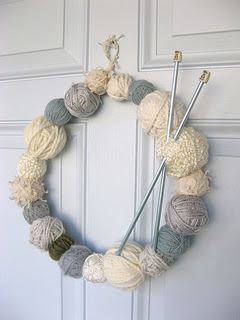
{Yarn Again - Image here}

{Felt Christmas buy this here}


Alright I hope you enjoy this tutorial and some inspiration from other bloggers.

Now link up with the wreaths you make!

12.12.2011

Clothespin Card Holder DIY


In the midst of all the Christmas Craziness, wouldn't you like a simple-even-a-caveman-can-do-it DIY?

I thought so. : )

So starting about 2 weeks ago we started receiving the annual influx of "update" newsletters, cards with families in matching clothes at the beach, a "Meowy Christmas" from Fluffy (complete with forged "paw-print") and with little to no counter space (and no mantle to speak of!) in the house the only place to put them was on the wall.

So here is a simple (did I mention a caveman can do it?) way to display those cards.

Supplies
  1. Twine
  2. Packet of clothespins
  3. Hot glue + gun
  4. Scissors
  5. Friends to send you Christmas Cards!

Cut your twine to the desired length. My was pretty small (I ended up making 2) but it can be as long as you want it to be!


 I colored my clothespins, using an ink pad, but looking back I wish I hadn't, he "red" wasn't as red as I hoped and the "green" wasn't as green as I would have hoped!


Dab a bit of glue on the inside (or outside, doesn't matter) of the clothespin and stick to the twine, equal  distance apart.


Now decide where you want to hang it in your home ( for pictures sake I stuck mine to a white, blank wall...with tape...classy)


Here is the finished product, again on the white, blank wall to show the outcome. I really wished I would have left the clothespins un-colored because now it looks more like they are for a baby shower...blue and pink!


Here is their real home! Hanging on our bookshelf...it is so busy it would have been hard to see the finished product.

Enjoy your simple DIY!! See not everything around the holidays has to be stressful, somethings are fun...and ridiculously easy! Now if finding a present for my parents were this easy...

12.10.2011

DIY Christmas Decor

Next Week is all about Holiday DIYs. 

There are all simple and cost almost nothing, so don't worry about running out to Michaels to stock up, just improvise with craft supplies you already have!


{Clothespin Card Holder}


{Styrofoam Wreath}

{Plastic Ring Ornaments}


{Doily Gift Tags}


{Hand-Crafted Gifts (that they will actually like!!)}

There will be one a day next week M-F so don't miss it!

Send me any of your DIY ideas that would want to share here!


12.09.2011

The Great Scarfament Swap!


So about a month ago Danielle from Take Heart Blog  hosted a Scarf-ament Swap...Which is exactly what it sounds like

A Scraf
and an
Ornament Swap

I was pretty excited, because I always love interacting with other blogging gals!

I was paired up with Kait from
{BTdubs...check out her blog...so cute!}

She sent the most versatile and comfy scarf, I wear it pretty much everyday!!

{Hello Grey & Yellow}

The ornament she sent fits perfectly on our tree and matches a lot of our existing ornaments.

{Gold Birdie}

I love the blogging community, there is so much potential for friendship, encouragement and just being able to relate to each other! 

{Excitment!!}


11.30.2011

Holiday Inspiration.

Ok if you know me, like in real life, then you know I can't make anything simple. 
I have to be different and go all out when hosting a party/baby shower/bridal shower/etc.

Christmas is no different. I am on a budget so I am trying to not go outside of that, but I do need some different non- run-of-the-mill Christmas decorating ideas

Most if my inspiration came from Pinterest...if not they are sourced.


Hanging lightbulbs spray painted through lace. Gorg.


Tasteful holiday wreath...easily a DIY.


Holiday cocktails in mason jars? I think so.

Vintage book page/newspaper wrapped tree. 
Lovely!

These are just a few of my ideas. I am definitely in full Christmas spirit over here!
Thanksgiving pictures coming as well as any REAL Christmas cheer I whip up!

Happy Decorating!

11.17.2011

Homemade Granola

I am trying to shy away from processed foods as much as possible. It is not so much a calories thing, or a refusal to eat junk food thing, it is just not knowing what I am putting in my body and what the TRUE ingredients are.

I am not above chips, crackers, easy grab-and-go snacks by any means, but I want as much as possible to make from scratch any foods that I can and have time for.

Today I whipped up a batch of granola, and let me tell you it was super easy and worth it!
So yummy!


Maybe the granola at the store has truck loads of sugar and salt, I don't really know, but I know for a fact mine doesn't, and that is comforting in a way! To know exactly what I am eating is freeing.

Granola is one of those things you can dress up any way you like, but mine is simple and to the point.

Ingredients
4 cups rolled old fashion oats
2 cups sliced almonds
3/4 cup vegetable oil
1/2 cup honey
optional: dried fruit or raisins

Prep: 5-10 mins
Bake: 45 mins

Add coconut, dried fruit, cashews, raisins, etc if you want!

Pre-heat oven to 350 degrees

Measure oats and dump in a large bowl


Chop and measure almonds and toss them into the bowl with the oats


In a small bowl combine the oil and honey and whisk together


to make things easier, I dumped my oat and almond mixture into a gallow sized freezer bag and poured the honey and oil on top.
Seal the bag and shake and roll it until all the oats and almonds are coated.


Spread granola out onto a cookie sheet and place in the oven


set timer for 30 - 45 mins (depending on how hot your oven cooks) and bake until oats are golden brown. Stir or flip granola occasionally with a spatula.


Place granola in an airtight container or in a tupperware. One down side of non-processed foods is that they don't last super long, but I will take that over not knowing what I am putting in my body any day! It just means more time to try new recipes and constantly having different snacks in your home!


YUM!

11.16.2011

{I have no choice, but I would still choose you.}


I love this song. It haunts me and send chills down my spine. 

It is the perfect example of the struggle, love, and eternity of marriage.
It makes me think of who I am as a wife and the poison that can easily come from my mouth instead of joyous and celebratory wine.

Our spouses are usually the ones we are hardest on, the ones that can cut us to the core like no other but on the other hand know just what to do to ground us and calm our hearts.

The poignant lyrics in this song make me examine my heart and words and actions I take against my husband

"Your hands can heal, your hands can bruise"
"You mouth is poison, your mouth is wine"
"I don't love you, but I always will"

This are powerful words that, depending where your heart lies can build up or tear down your marriage.

I want my hands to HEAL
I want WINE to pour from my lips
I don't want to breed bitterness or selfishness in my marriage, but honesty, deep love, commitment above all else to God, and to each other.

My favorite line from this song though is:

"I have no choice, but I would still choose you."

We have made a commitment, a vow, and at this point I have no choice in the matter. We will be together forever, there is no second option. This overjoys me, but I know there will be times in the future when this seems too hard to handle or too much pressure, and I will want to run

I pray I will always choose you.
I pray you will always choose me.

11.15.2011

Before & After


{Before & After}


This was my least favorite space in our home. It is an awkward utility room that connects the kitchen, our bedroom, and the main bathroom. Kind of like a mini-hallway.

We have like zero storage in our house, so I try to fill every corner and wall with a cute shelving unit, dresser, bookshelf or filing cabinet. 

This is all we could find for this room. An ugly table with grey padding around the legs for the previous owners, apparently clumsy, children. It was useful for holding this on it, but I hated it!
I cursed its existence every time I walked into our bedroom.

So about 3 weeks ago I started looking for a better piece to go there with more storage and a mid-century modern look to it.


Now I love our little space! It holds all of our linens, trash bags, Greg's tools and car washing stuff, plastic and paper bags for lunches, all our tupperware, and our knick knacks (matches, push pins, clothes pins, etc) that were just taking up space in a drawer in the kitchen.

The boxes on top came from the $1 bin at target and they organize the little "junk drawer" type things that would get lost in the big drawer space.


I love walking in here so much more now! Now to find a cuter basket to go on top...


11.14.2011

{My week in Pictures}


Baking up a storm. We were headed out on vacation with way too much produce in our fridge, so I got to work baking, cooking and freezing. I made 2 loaves of chocolate chip pumpkin bread (made from my fresh pumpkin puree), a jar of pasta sauce, baked potato chips, chocolate covered raisins (not a produce, but a yummy roadtrip snack!), broccoli cheddar soup, and a huge giant mess!!

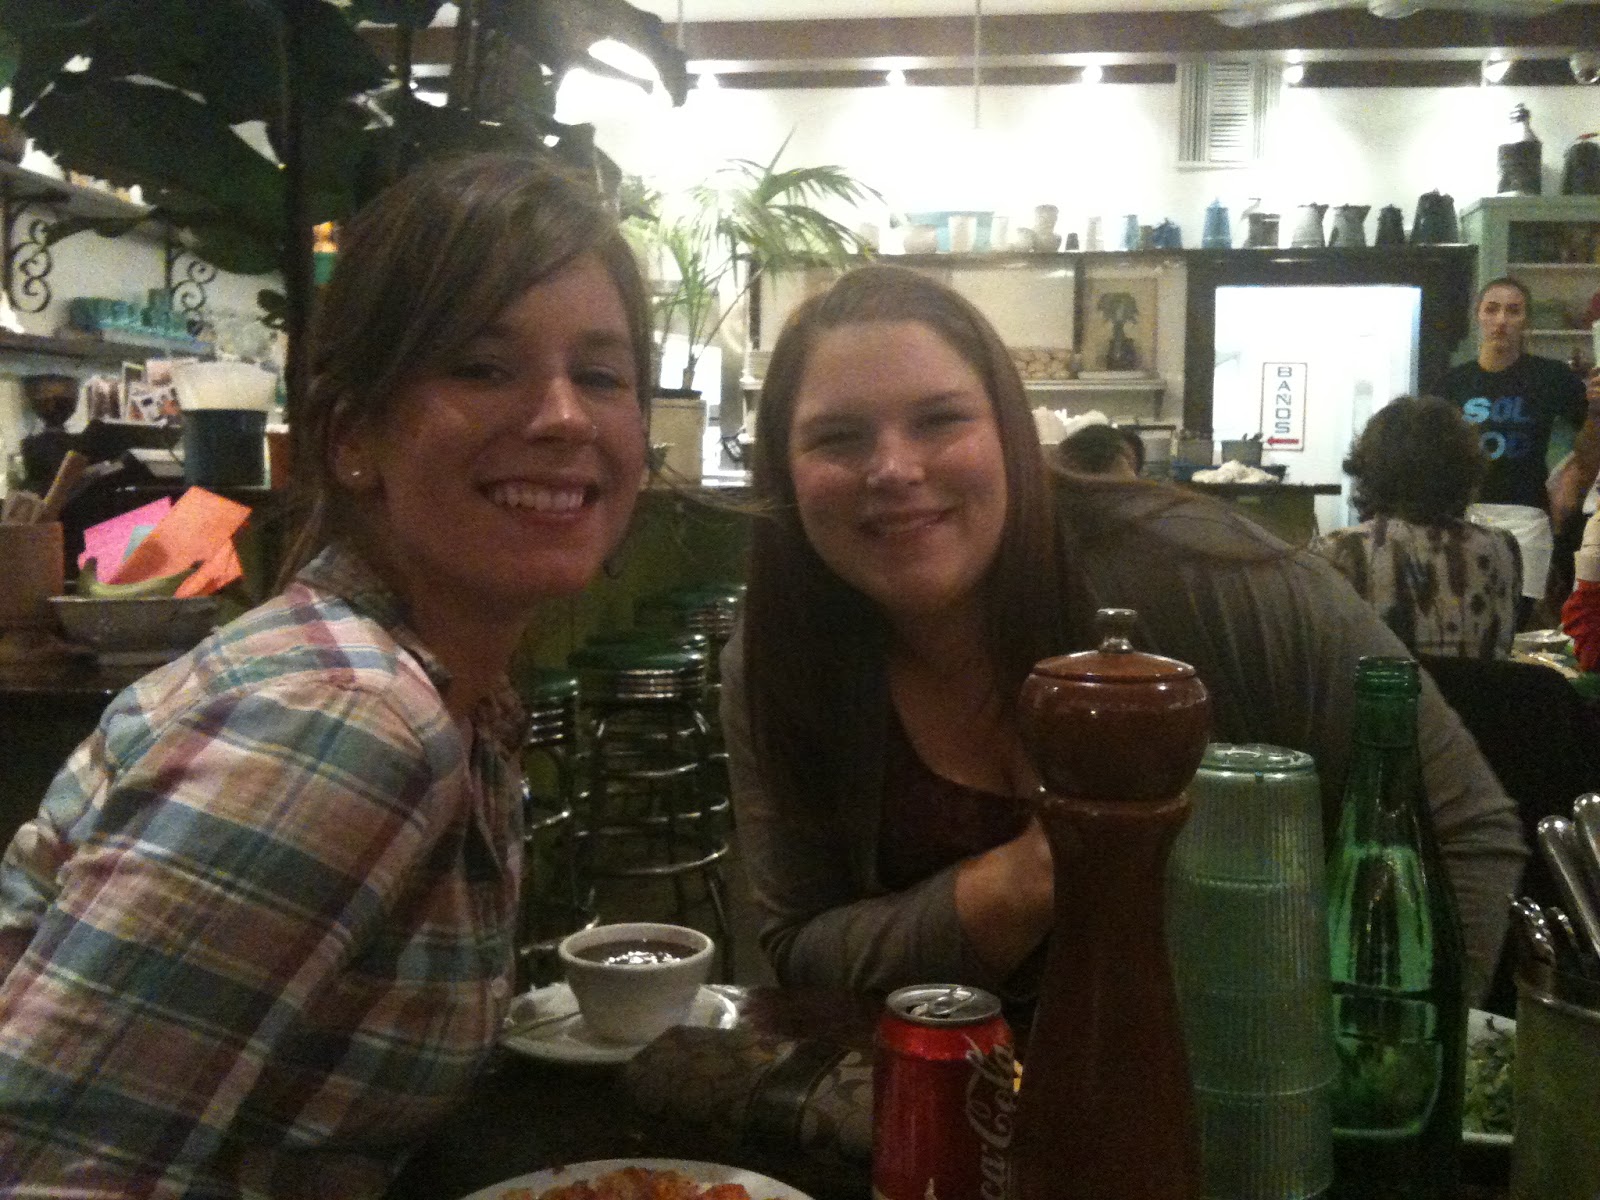
Girls night out...Sol Food Puerto Rican cuisine, and Lykke Li!


Sol Food in San Rafael...check it out! Mango limeade ice tea. To die for. Fried Plantains, rice, roasted chicken and salad with a lemon vinaigrette glaze. Swoon.

 The Fox theatre in Oakland to see Lykke Li and First Aid Kit with the girls.
Amazing night!

And that vacation I was baking and cooking fervently for? DISNEYLAND! 

Everything was so magical. It was just the perfect amount of chilly wind that made you think you were walking down a little European street during Christmas time. It was pleasant.

Main Street, Disneyland.

11.03.2011

The perks of being busy...Pumpkin Puree!

So what does being extremely busy and pumpkin puree have to do with each other?

Well...nothing...usually

But today they collided in what may be the most delicious procrastination I have ever tasted.


I bought Greg and I each a little pumpkin to carve on Halloween, but we put it off and put it off until the 31st, but I ended up having 2 exams this week and Greg worked late until 10pm on Halloween night helping put in a new sound system at his work...

So needless to say we never got around to it...so I have passed those silly little pumpkins every time I walk in the front door, and I am bummed they never got carved.

Until this afternoon I was making a shopping list and I put "can of pumpkin"on it, and then thought...what am I doing? I can make my OWN puree!

So I set out to make those neglected pumpkins into the season's staple ingredient!

So halve those puppies and cut off the stem. Scrape out all the "guts" and I suppose if you want, bake the seeds and eat them, but I personally hate pumpkin seeds...so into the trash them went.

Set the oven to 400 degree and place the two halves on a middle or lower rack.
If you want you can rub them with butter, cinnamon, nutmeg, etc

I'll be super honest with you, I didn't time how long I put them in for, but I believe it was around 30 mins.
Test them with a knife down the thickest part to determine readiness, when the knife slides through easily, you know they are done!

The outside "skin" of the pumpkin should just sort of fall off once you peel it away, and you can spoon out any extra "guts" you missed in the beginning. Put into a small bowl or food processor to puree.

I had about 3 other things cooking simultaneously so I didn't want to make an even BIGGER mess and bust out my food processor, so I just pureed mine using my small hand mixer.

Store in a tupperware or mason jar in fridge or use right away for pancakes, pie, cookies, bread, etc.

Hope you enjoy your homemade pumpkin puree!

I will be doing a tutorial on these fancy jars coming up in the next week so stay tuned for that!