Showing posts with label tutorial. Show all posts

4.02.2012

DIY {sorta} freezer/fridge organizer

So this DIY is not really that cute, but it was NEEDED at our house!


I HATE wasting food. It makes me sick throwing away food that went bad because of neglect or half used freezer burned bags of smoothie fruit.

So I devised a system to let us know what we have in the freezer and (immediately perishables) fridge so we would waste less and not buy things we already have only to find it shoved to the back of the freezer trapped beneath the 10 lb bag of ice!

Here is the freezer before. Yikes.


 Here is the freezer door before. Double yikes!


I had this old cork/white board mixed in with my craft supplies and I know since I bought it at Target it would be too hard to take it apart and repurpose it. 


I was right. (disregard dirty door...)


I love my new organizer! It will help us waste less and know what we have when planning meals!

1.22.2012

Erasable Menu DIY

So I have begun to share my weekly menus with you all...
1. to keep myself accountable to do it and
2. to inspire you all to do the same!


It really does save so much work and stress!!
And if you have kids, let them pick a meal one night and write it in..it will be fun for them to be involved and have them help cook too or take a load off and them cook it all (if they are old enough).

So here is my version of the erasable weekly menu, inspired by the lovely Pinterest.

Supplies
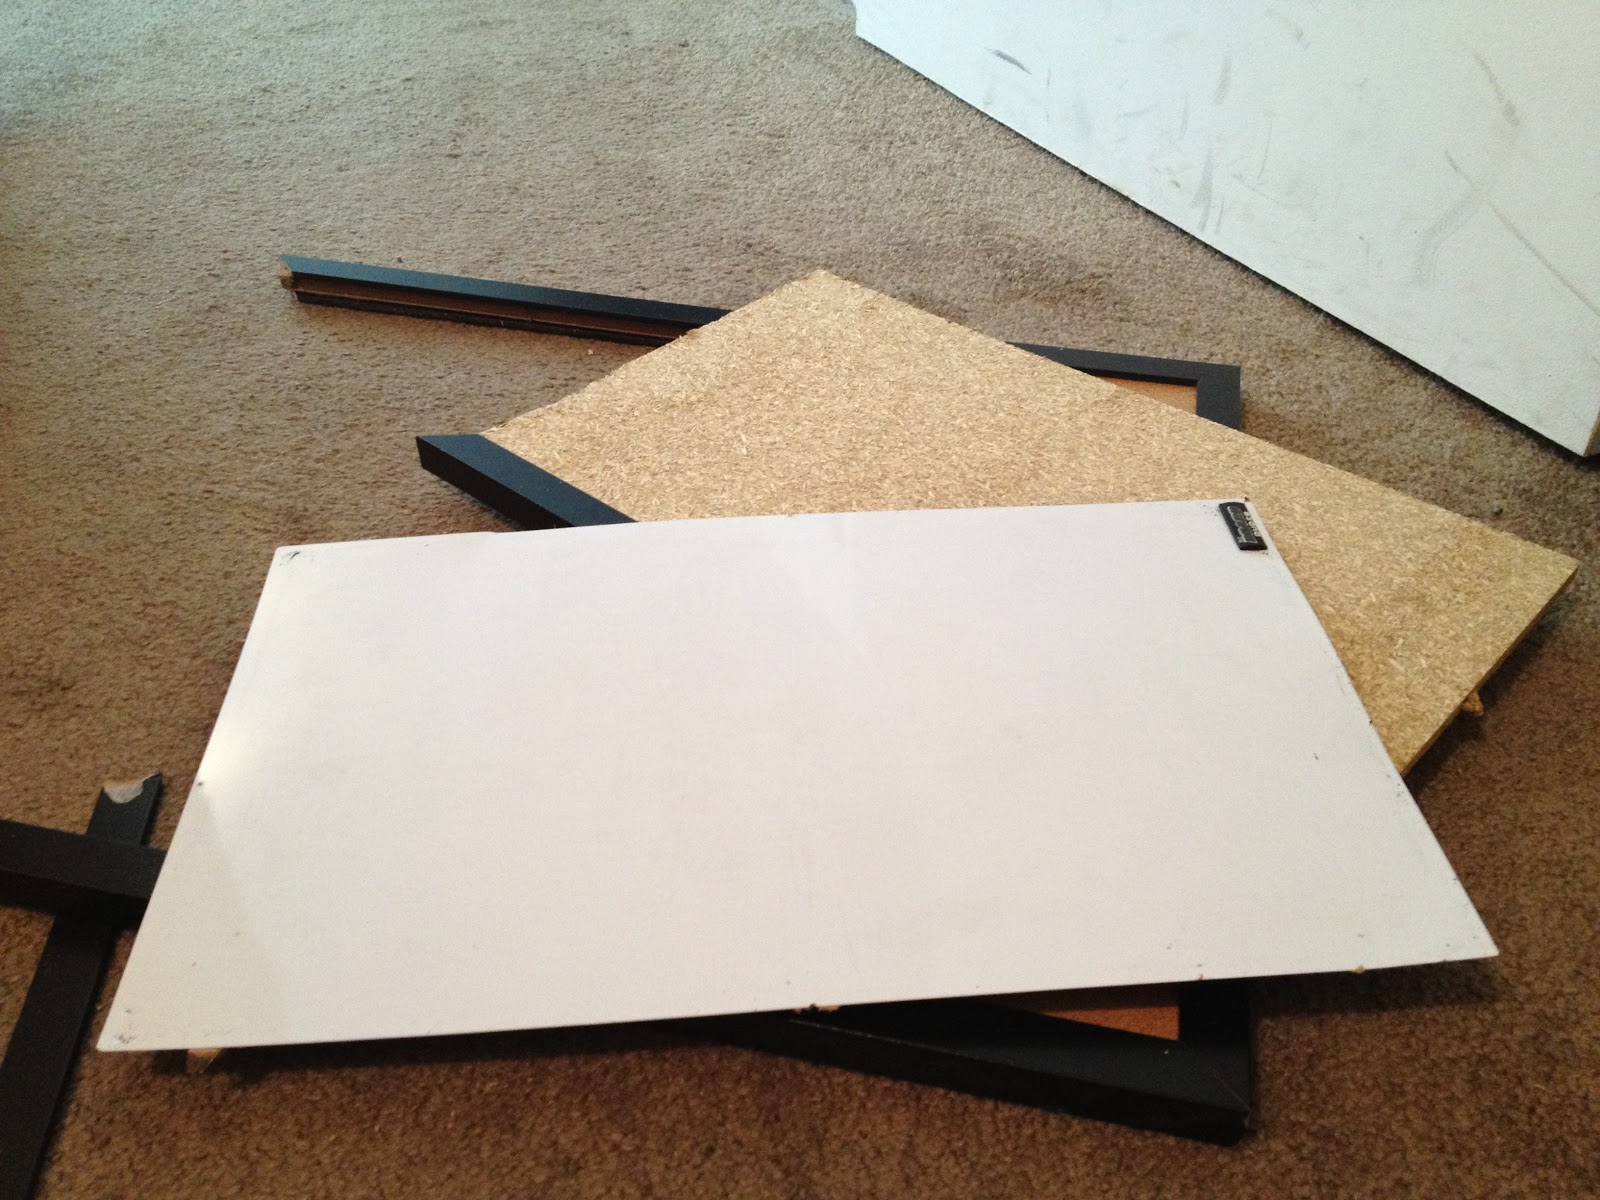
1. A large frame, with glass
2. Scissors
3. Tape
4. Markers or pens
5. A large white poster board (not pictured)
6. fun stencils!

I tried tons of different things like putting mismatched craft paper, or cut up Trader Joe bags behind my glass in the frame, and just didn't end up liking any of it. So I went to Target and bought one of those like science fair poster board and cut it to the right size. A nice clean, white slate.

I measure the white poster board to the same length and width as the back panel of the frame, cut it out and taped it to the back. I then added some food themed stencils to my white paper 

Then out of craft paper I made day of the week circles, and taped them onto the white poster board (now attached to the inside panel of the frame)

I wrote 'MENU' in large letters on the white poster board, and then assembled the frame and secured the glass on top.

Crappy close-up. : )


I bought a dry erase pen from Target and can now write the menu next to the day of the week circles, and can record on top the week I am cooking for...then erase it all at the end of the week and start over!

It's super easy, and it has made my hectic school filled life soo much better! : )


10.01.2011

Must try photo apps + Tutorial

So I know not everyone owns an iphone, but I think most phones these days have apps you can buy...well here are some of my favs!

{Instagram}


Instagram would of course be my top pick. It takes all your photos and gives them that vintage look, and so many diferent styles. Make iphonography interesting and fun!

{Phonto}

My newest FAV app is Phonto. One of my besties, Ali from Ballpoint + Pen was over the other day and showed me it's wonders! 
It allows you to add captions to your photos and links up with instagram and your iphone photo library so there is pretty much seamless transition between picking, tweaking, vintage-ing and posting pics. LOVE IT!

This may be my all time favorite picture of my husband. God, may I please please pop out babies this adorable and chubby? Amen.

This is my absolute favorite picture I have made with Phonto. From our Honeymoon!

{Pic Stitch}


This app is also a new favorite! Collages galore! And you know I love myself a good collage!

Food.

Coffee.


Baby.

Mr. Horton

Ok, folks and here is the coolest part about all these picture apps!

They all interact with each other seamlessly!

{Instagram-Phonto-Pic Stich Tutorial}

 
Step 1: Take your pictures in Instagram. I chose the black and white setting, which actually is not normal for me. But I thought it would look cool for this project.


                Step 2: Next Open your pictures in Phonto one by one, and add the words you want to them.


Step 3: Choose a template on pic stitch and add in your Phonto pics. So fun!

All the pictures you take for each of these apps can be saved to you photo library, so you never lose the original or any of your steps, unless you choose to delete them yourself!

What are your favorite iphone/android apps that I should know about??